





North Horsham garden transformation
An overgrown garden with restricted access was cleared and rebuilt with a Fossil Buff sandstone patio, bordered planting areas and a new striped lawn.
Read this case study →HSH project case study
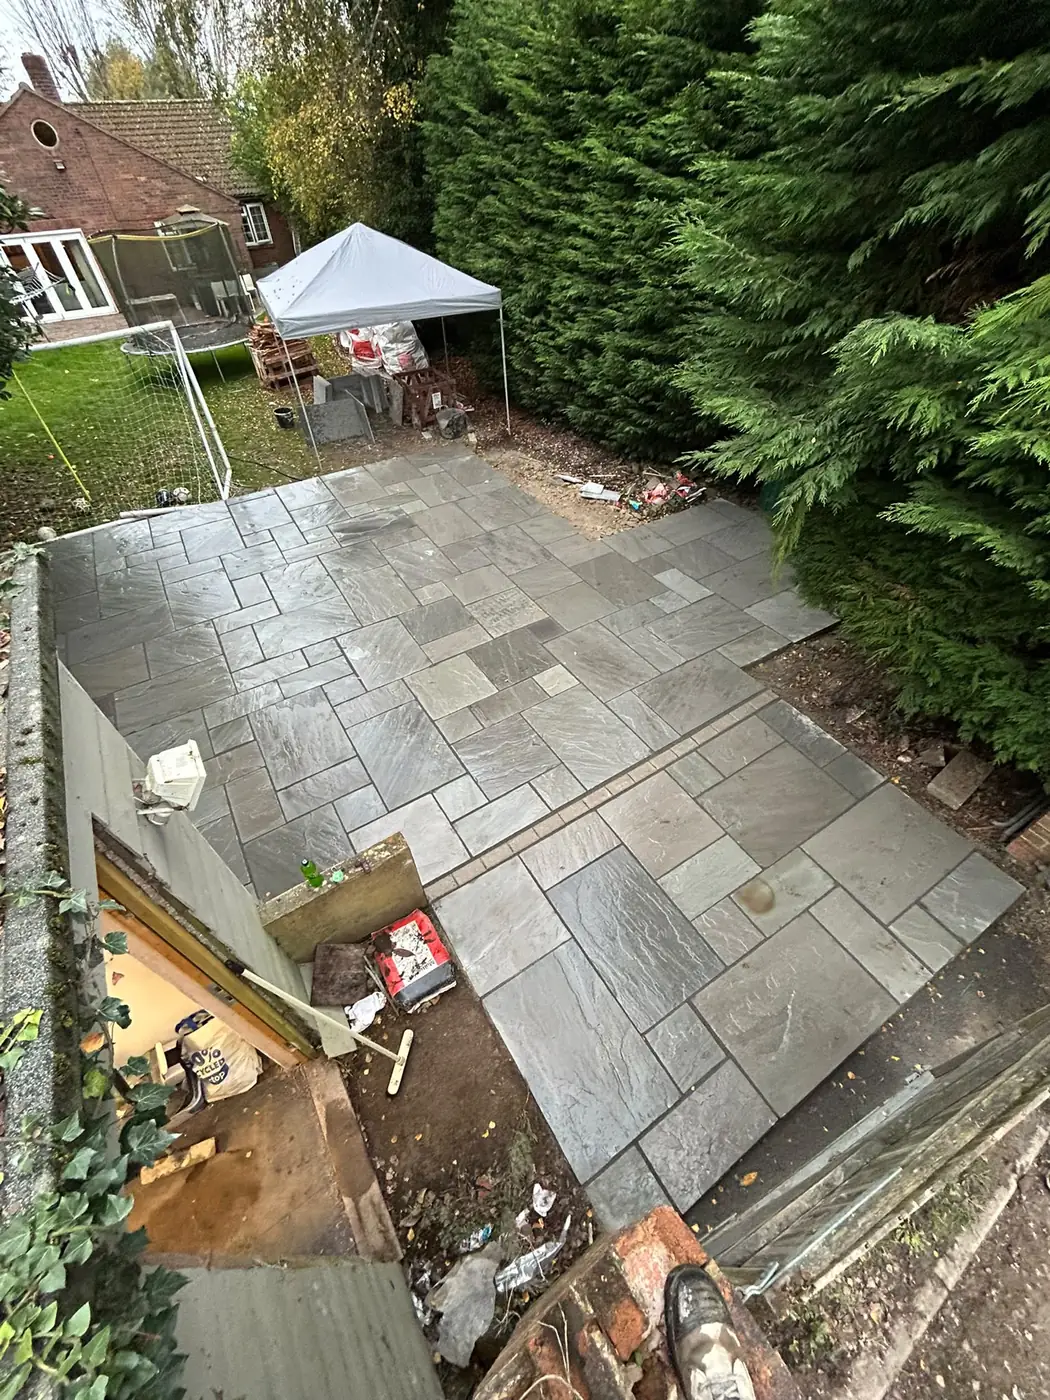
A failed dot-and-dab patio was replaced with silver-grey sandstone on a fully prepared base, with levels planned around the studio and a lower gate threshold.
The brief
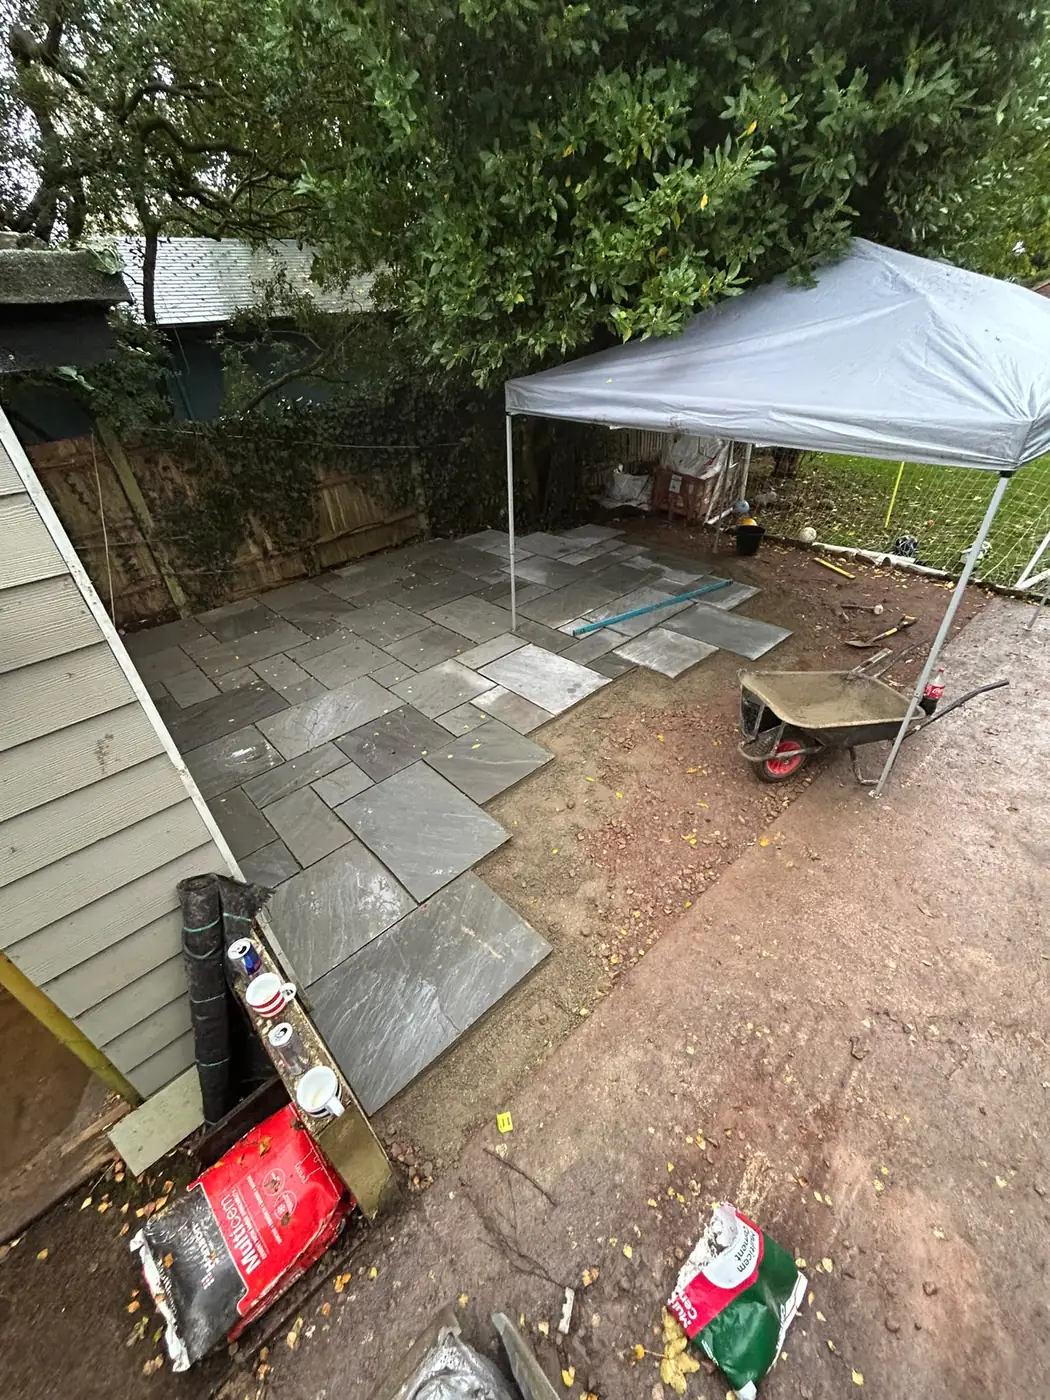
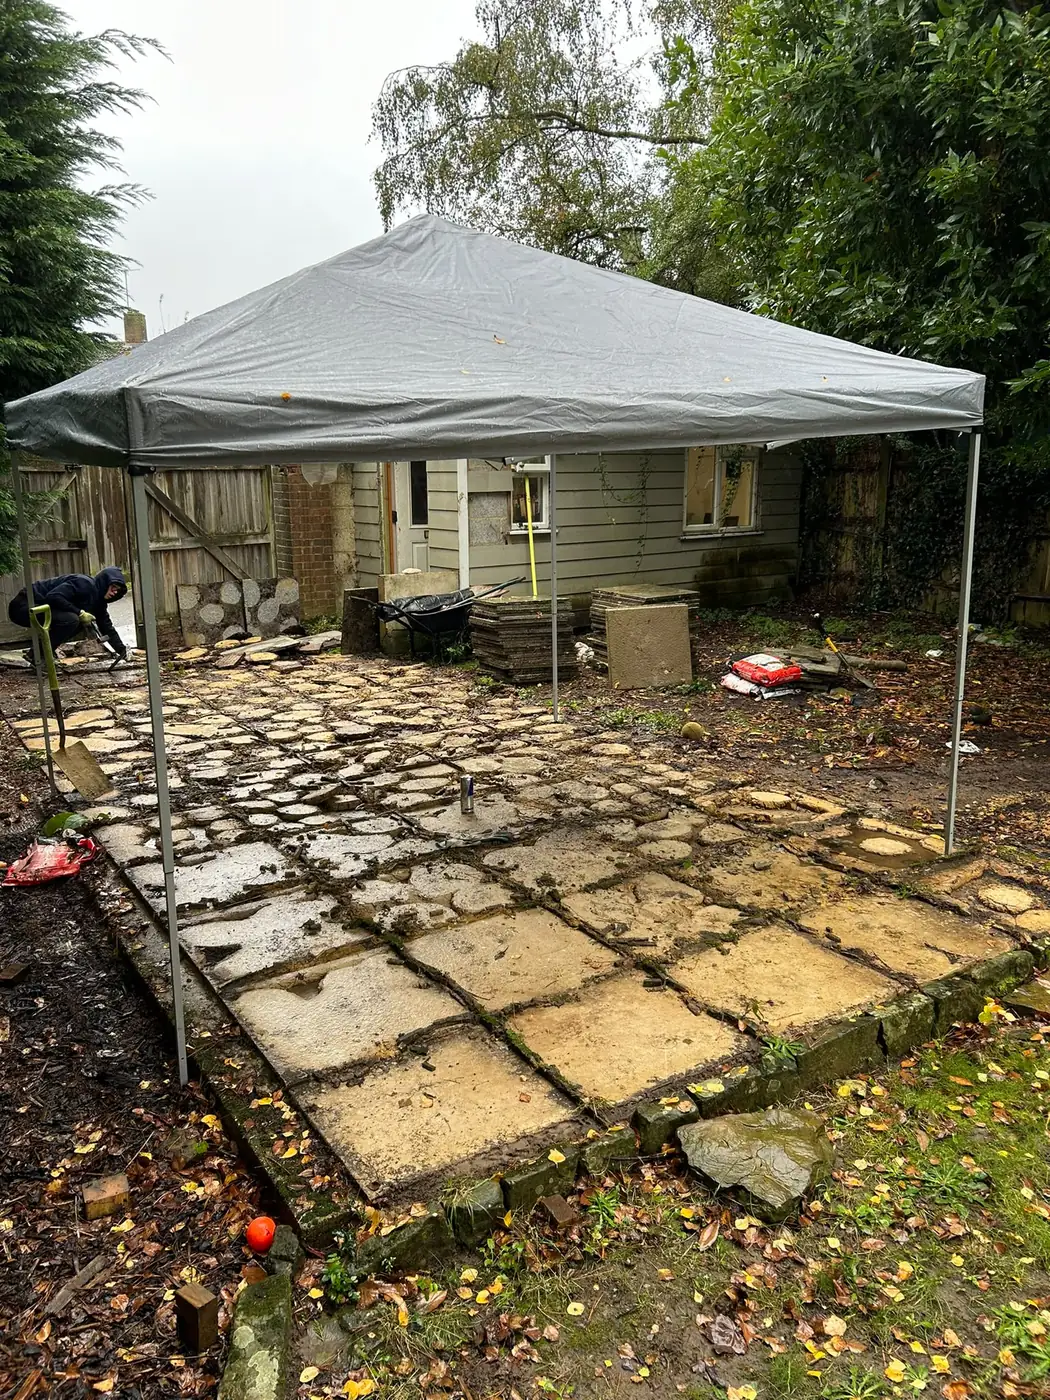
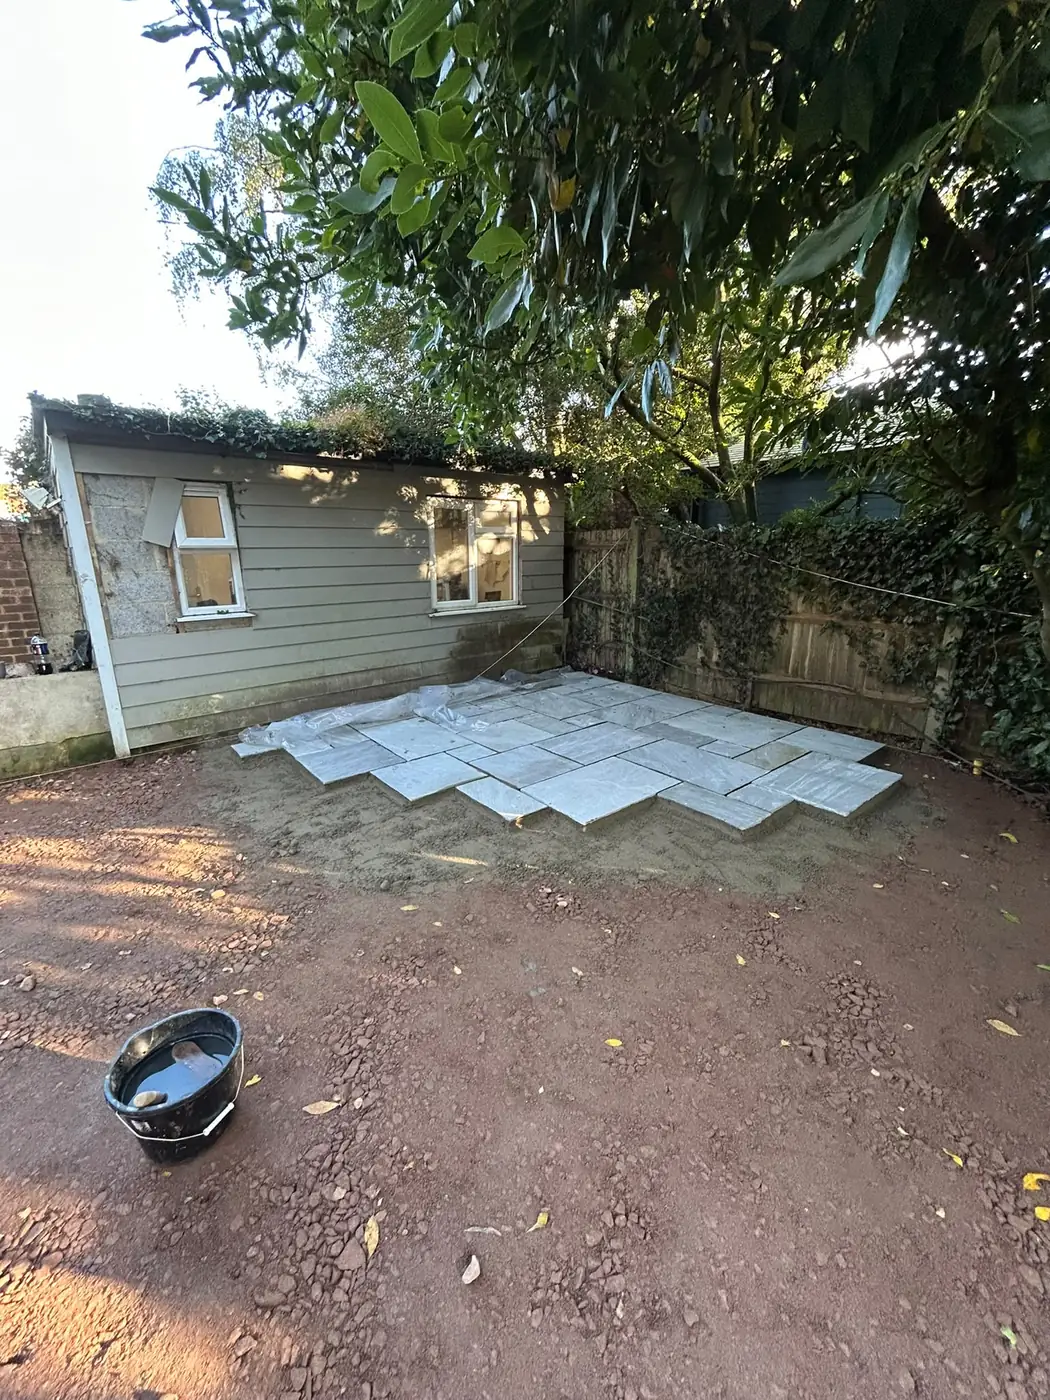
The project covered approximately 75 m² and called for a new silver-grey sandstone patio. The existing paving had to be lifted first. Once it was exposed, Harry found that the old slabs had been installed on isolated spots of mortar rather than a continuous supporting bed. That dot-and-dab method left voids beneath the paving where water could collect. In freezing weather, trapped water can expand and contribute to slabs loosening or lifting, so the replacement needed a different construction from the ground up.
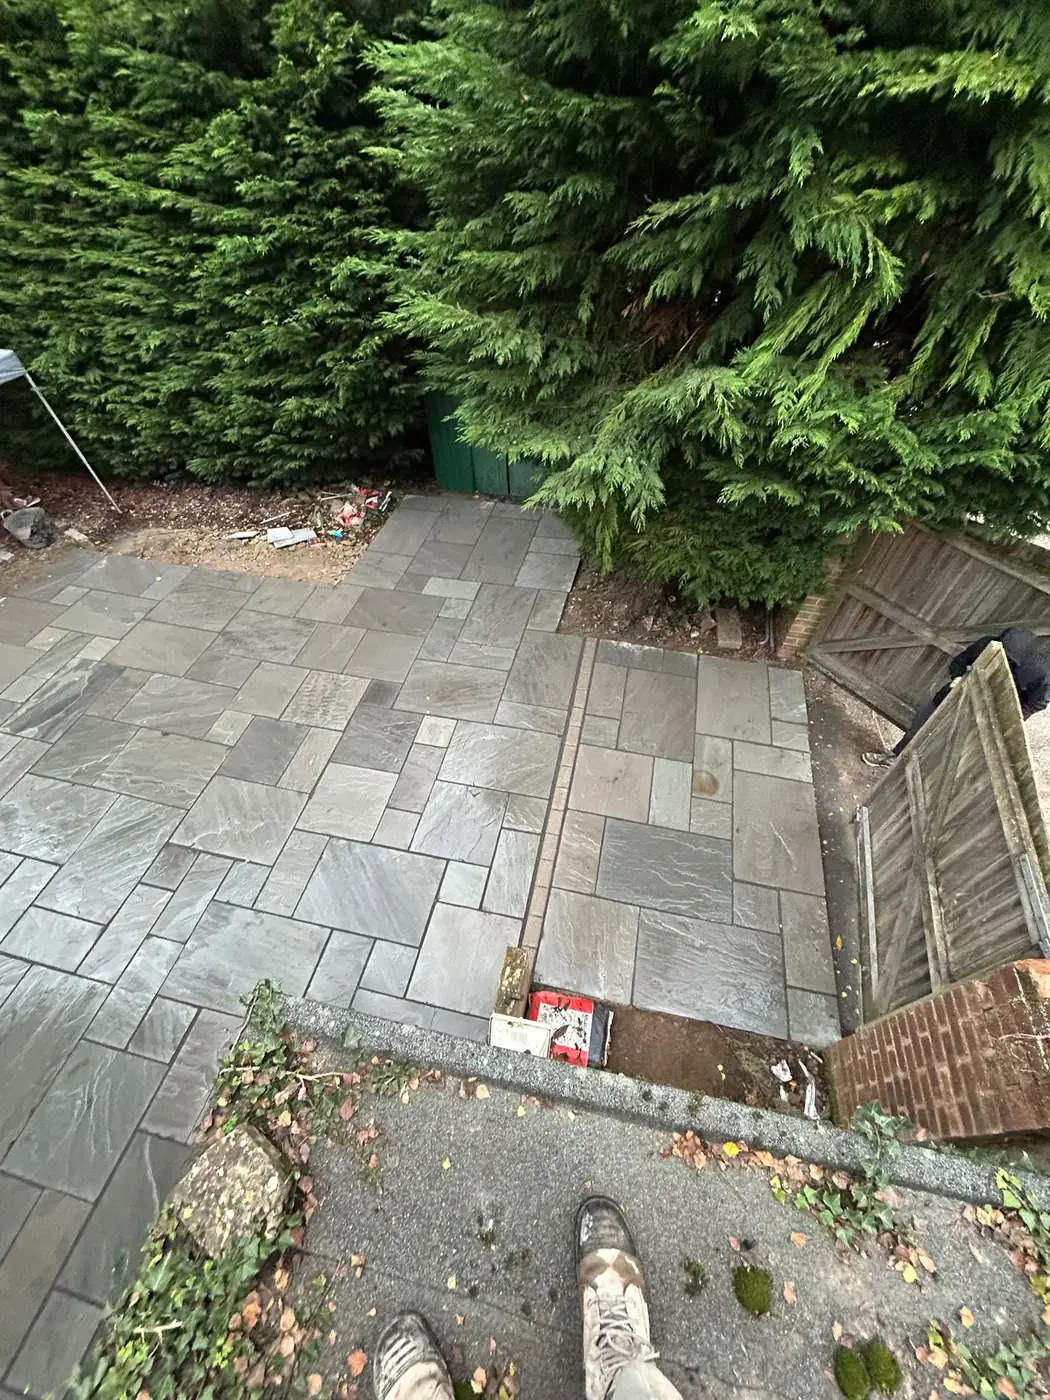
The new patio also had to work between two fixed points: the garden studio and a lower gate threshold. The finished surface could not simply be laid level. It needed controlled falls that moved water away while remaining below the gate and forming a clean relationship with the studio.

Constraints and decisions
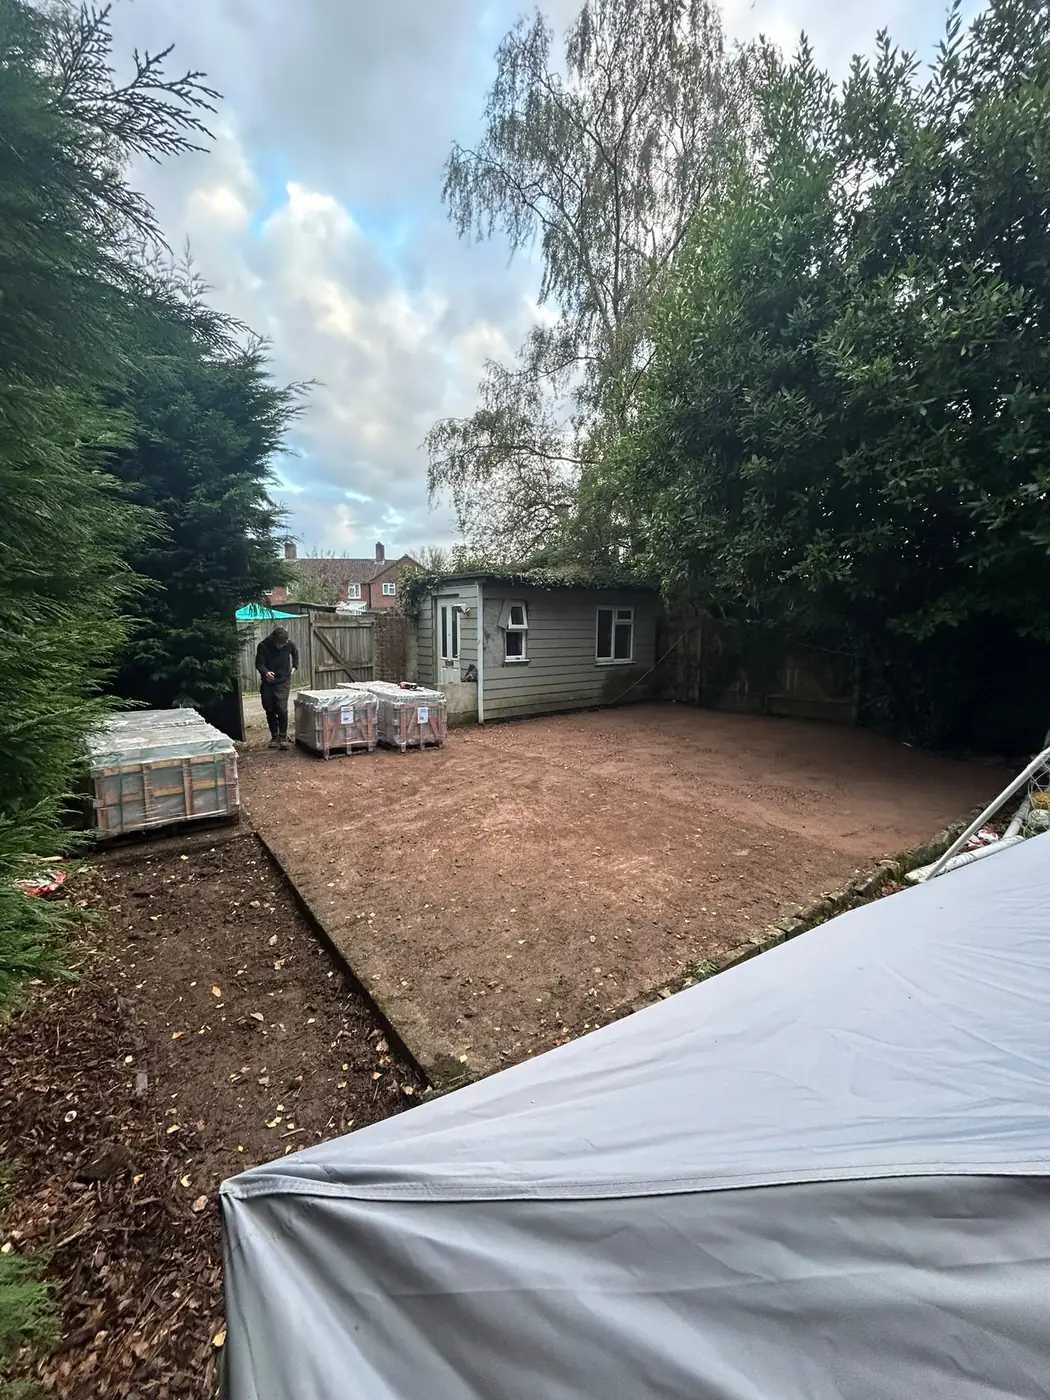
Most of the patio area was excavated to around 170 mm below the proposed finished paving height. That allowed for a 100 mm compacted sub-base, a 50 mm laying bed and a 20 mm sandstone slab. A sound existing concrete pad was assessed separately and retained rather than removed without need.
Harry established the finished levels with string lines and metal markers. These reference points created the required falls and helped keep the surface consistent across a large area. Waste from the old patio and excavation was loaded for removal by grab lorry, keeping the construction sequence clear.

The build
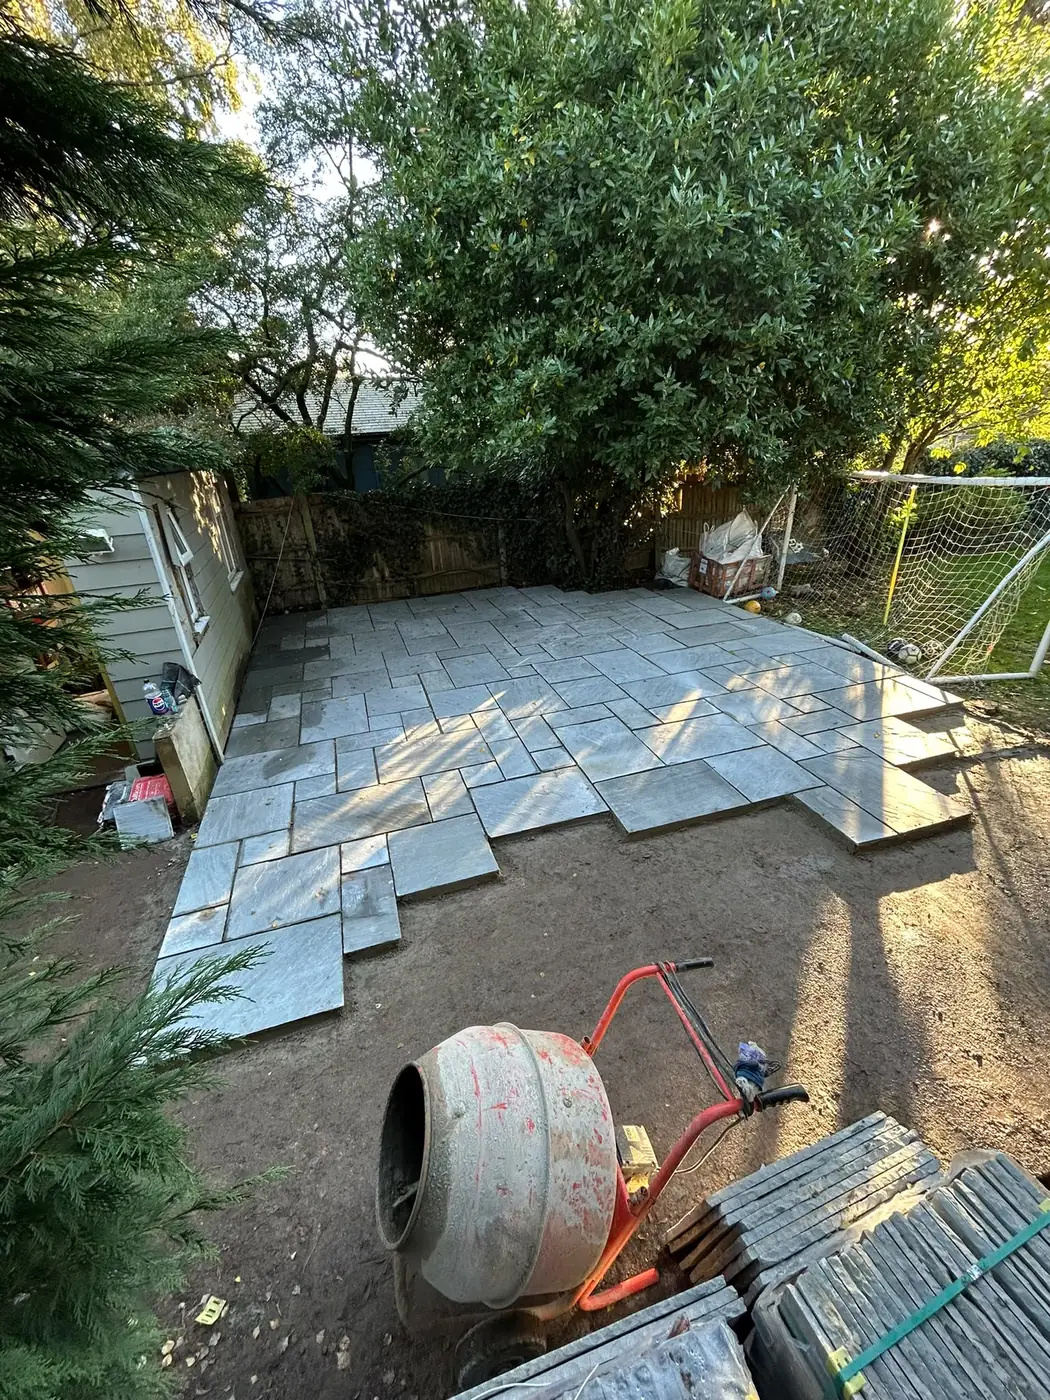
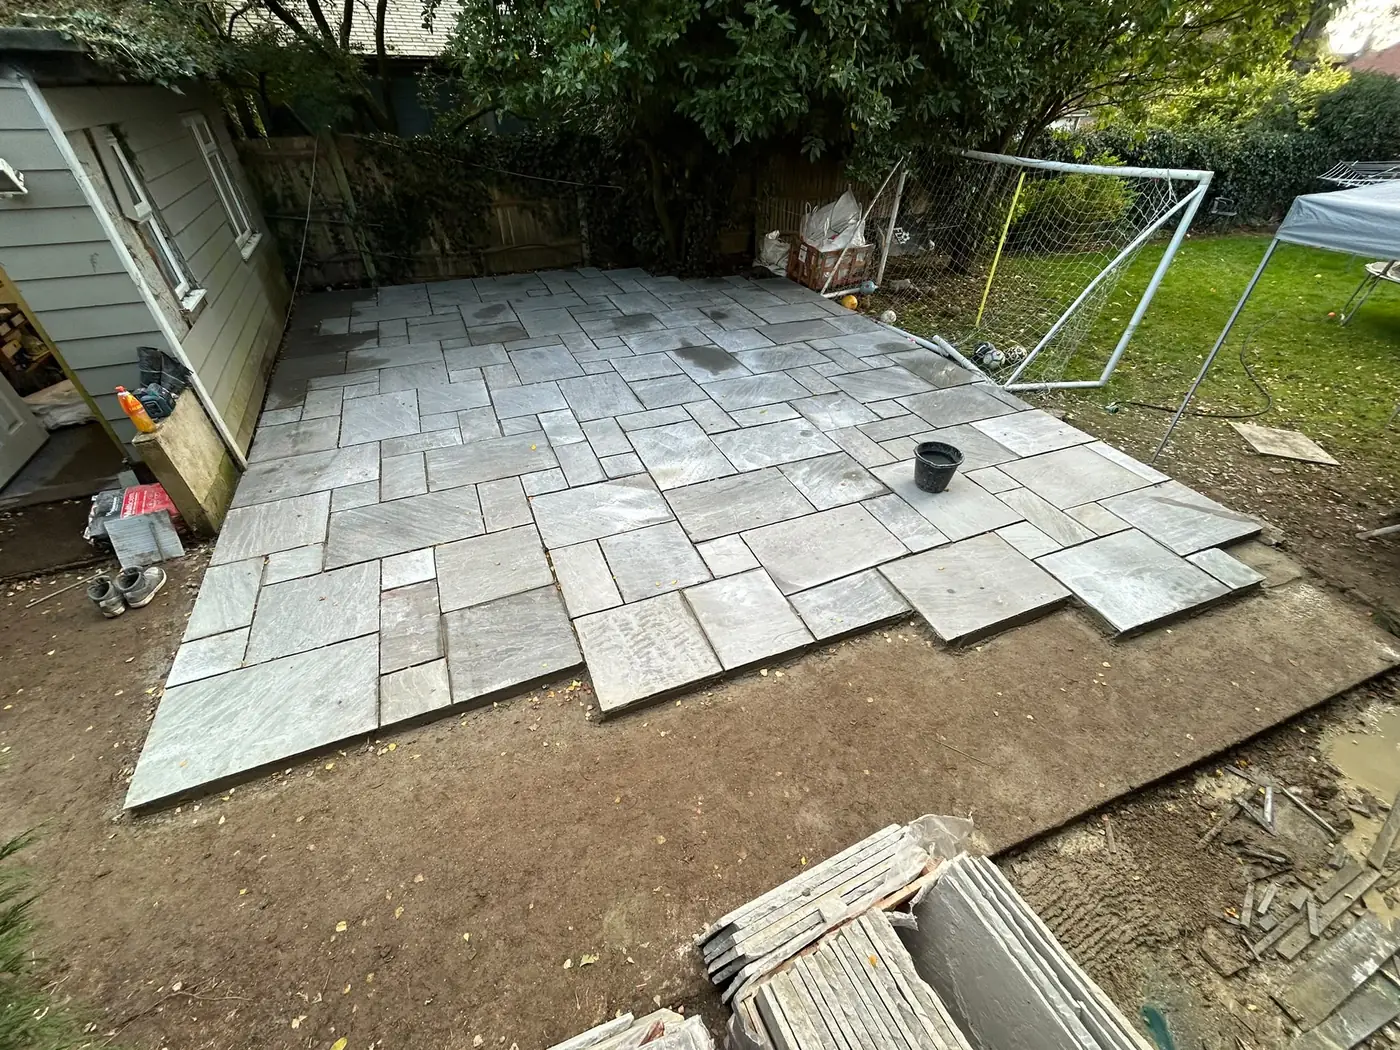
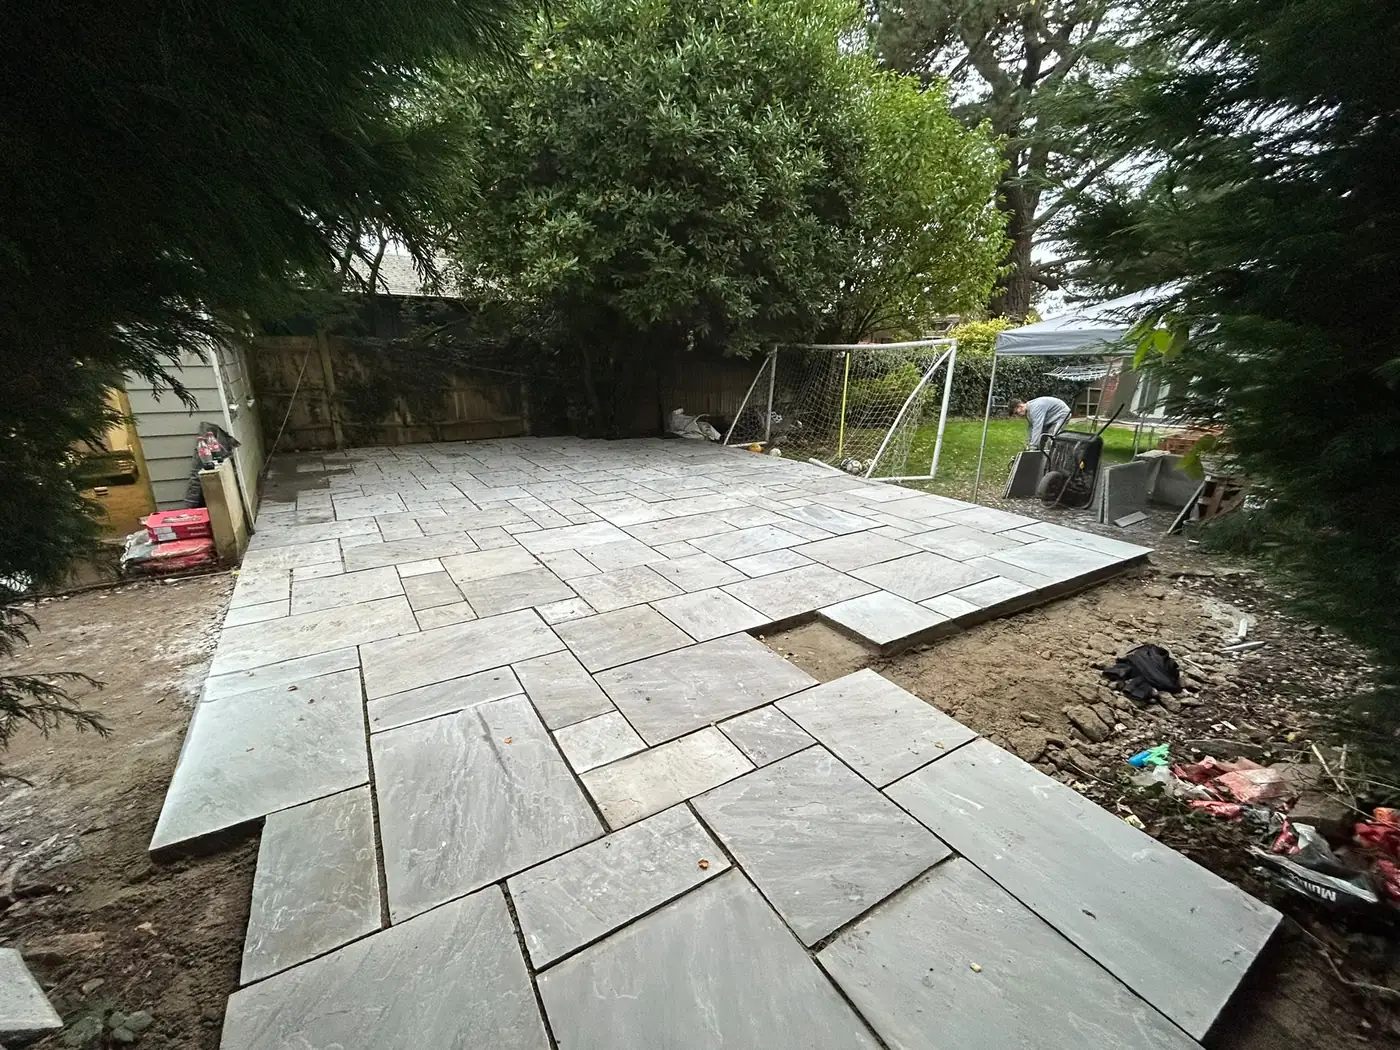
A woven geotextile membrane was installed where required before the Type 1 sub-base was built and compacted. The sandstone was then laid on a full-contact sand and cement bed approximately 50 mm deep. Each slab was slurry-primed before placement, improving adhesion between the stone and mortar rather than relying on small high spots to support the load.
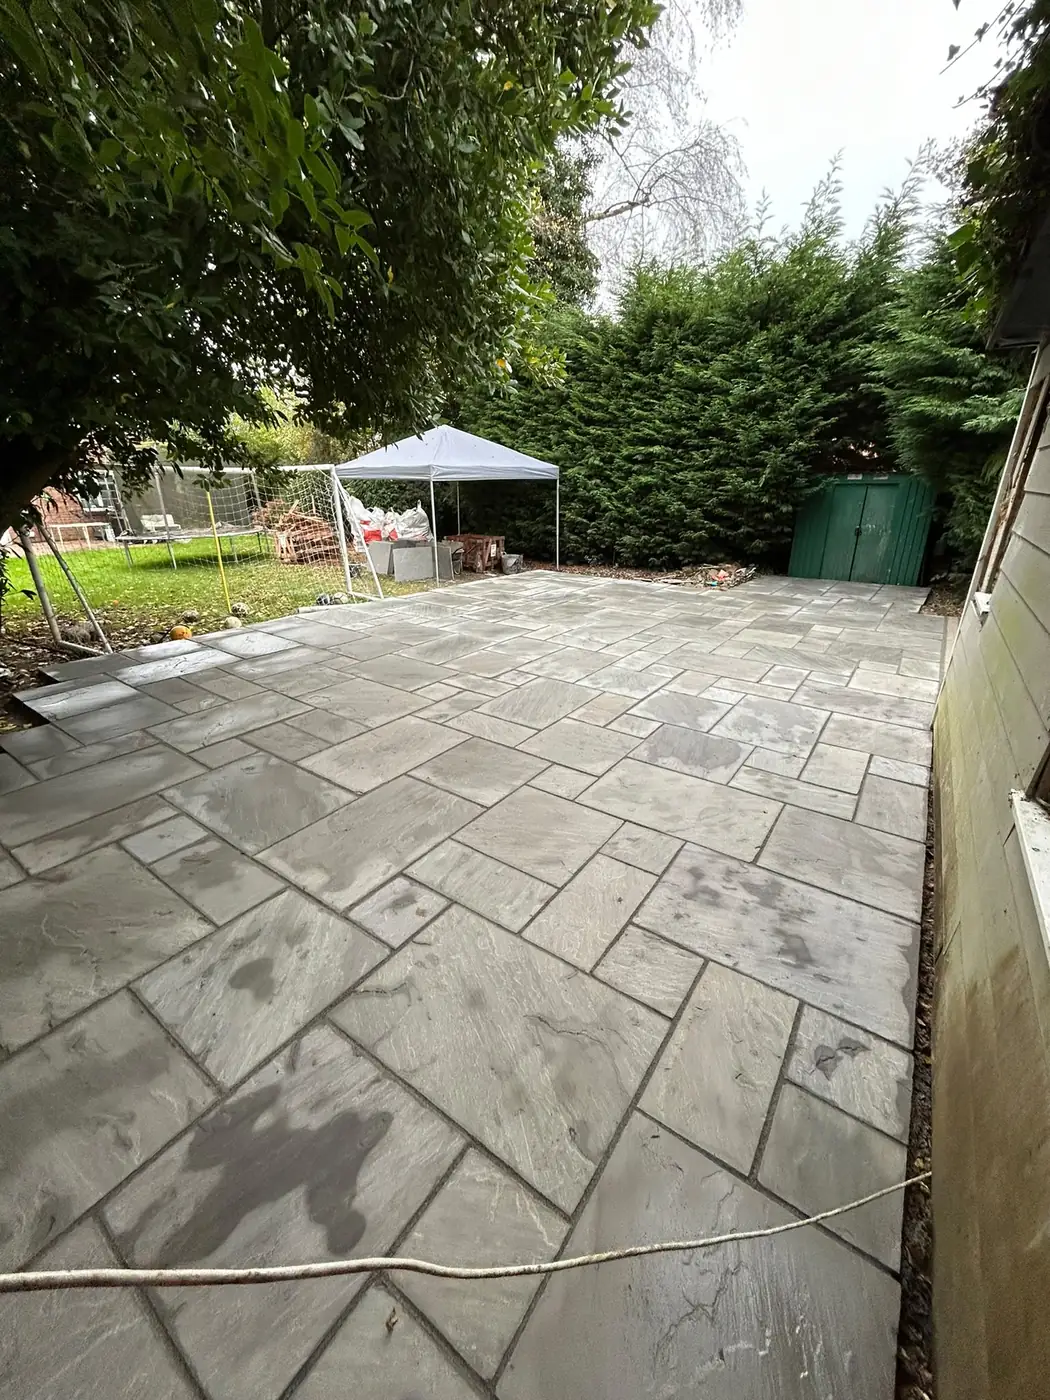
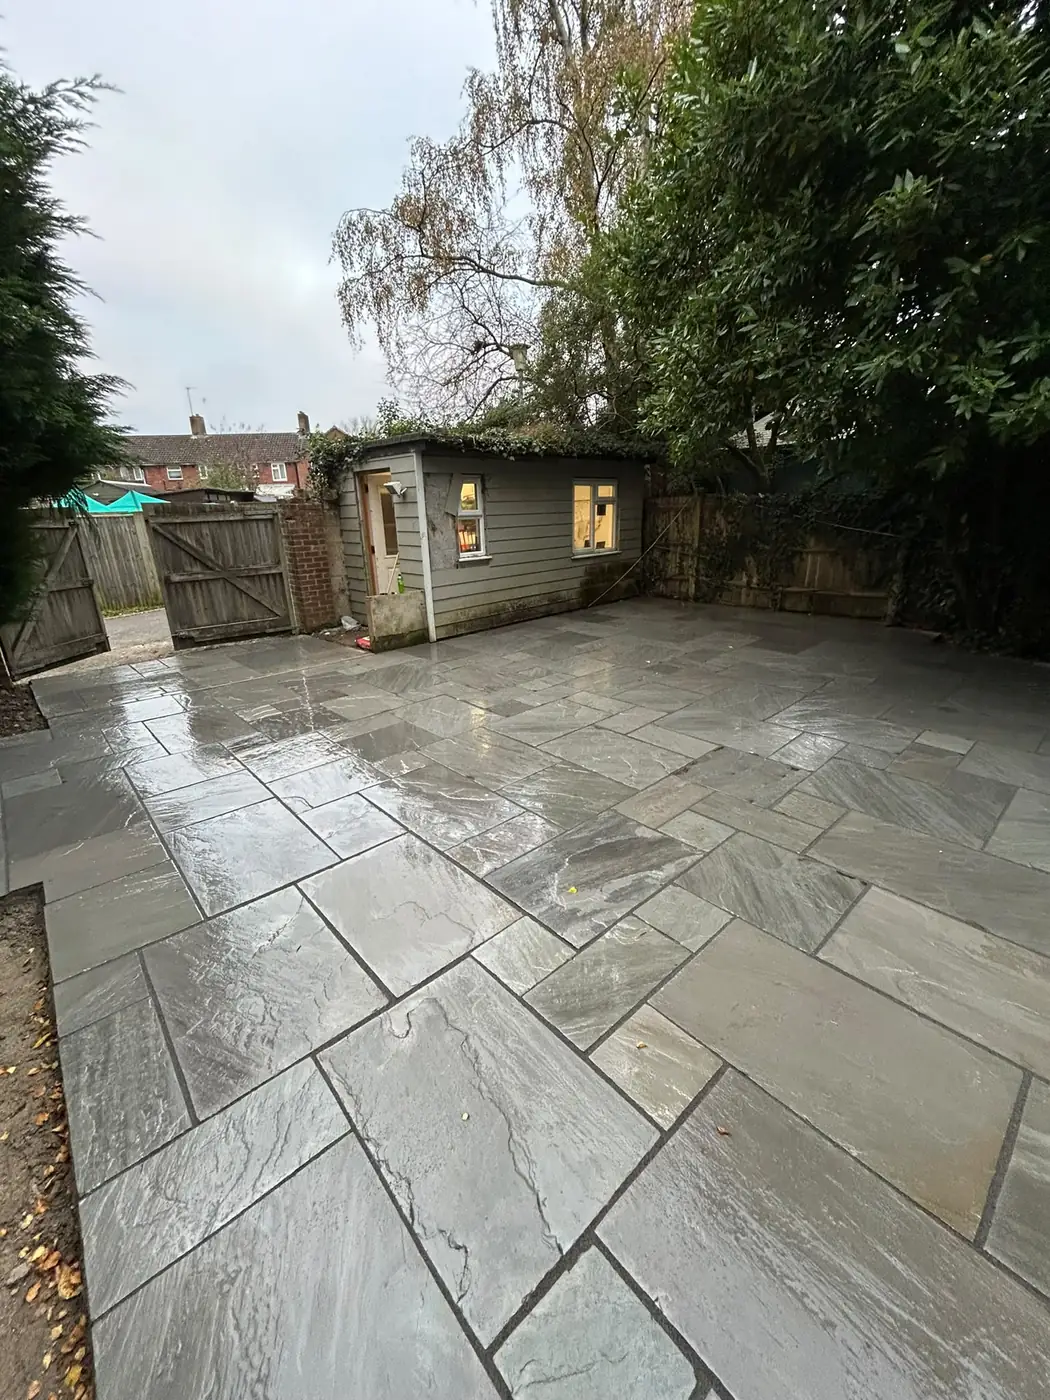
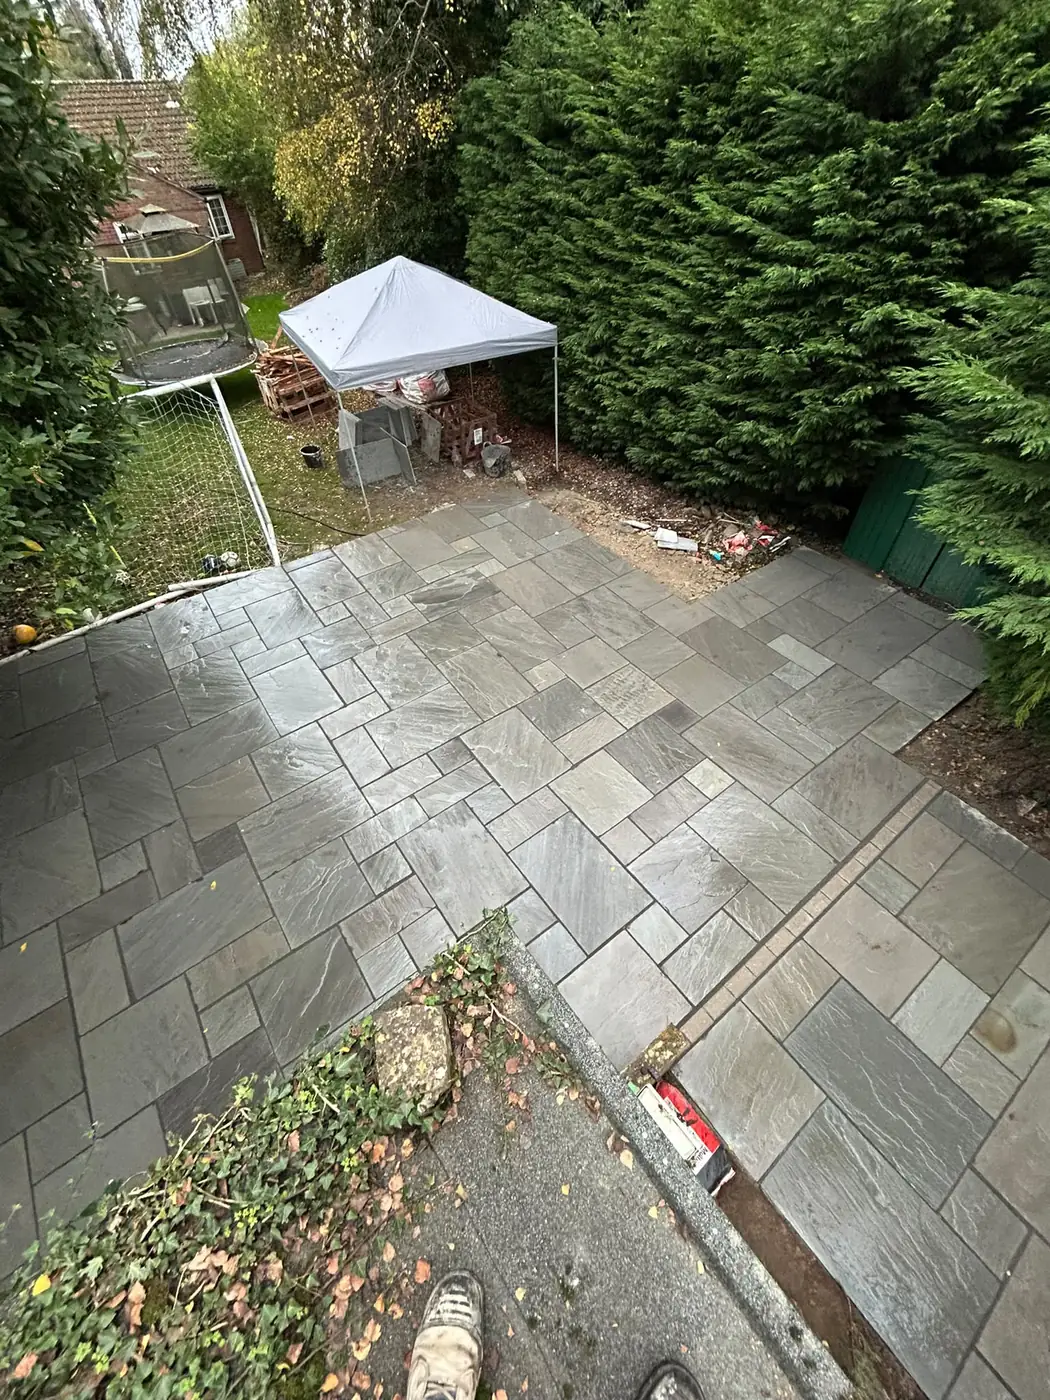
The project-pack slabs were arranged to avoid distracting cross joints and long, uninterrupted joint lines. The main body was set square from the studio, while the border helped manage the changing levels around the perimeter. The route to the lower gate was checked throughout so the new construction did not obstruct it.
When the paving had cured, high mortar in the joints was ground out to leave roughly 20–25 mm of depth. The surface was washed, then brush-in jointing compound was worked into the joints and compacted three times using tuck pointers. That repeated compaction reduced voids and created a denser, cleaner joint. A final wash and tidy completed the work.
The result
The silver-grey stone opened up the garden visually and created a large, continuous seating and circulation area. When Harry revisited more than two years later, after the patio had been washed, the paving remained solid. The customer had added a pergola and the natural stone had weathered into the garden rather than looking disconnected from it.
The project also reflects HSH's quotation approach. Materials and labour were explained separately and no labour payment was required upfront. The construction details—the excavation, full bed, primer, falls and joint preparation—were treated as part of the finished patio rather than hidden extras.
Before, during and after
These 19 photographs are arranged in the order the work progressed. Two photographs are shown at a time and advance automatically; use the controls or arrow keys to browse manually.
Related services
More project evidence
An overgrown garden with restricted access was cleared and rebuilt with a Fossil Buff sandstone patio, bordered planting areas and a new striped lawn.
Read this case study →The old paving was lifted and the garden rebuilt around controlled falls, a new ACO drain, protected pergola posts and blockwork for a planter.
Read this case study →Start with the useful details
Send Harry the location, what you want to change, approximate dimensions and a few photographs if you have them. He can then discuss the sensible next step without a fixed-price promise based on incomplete information.